After a few summers of actively grilling chicken and using different marinades, I have come to the conclusion that I prefer dry rubs when grilling over an open flame. I, for one, think it yields a crispier skin and less unwanted char compared to a wet marinade. And the best thing about a dry rub is that you can always brush on your favorite barbecue sauce or hot sauce over the grilled chicken during the last 2-3 minutes of cooking or when the poultry is off the heat and resting.
So if you feel like grilling up some chicken this 4th of July alongside your burgers and hot dogs, keep on reading for my super simple recipe!
INGREDIENTS
- Skin On Chicken Legs [ As Many As You’d Like To Grill ]
- Garlic Power [ A Generous Sprinkling ]
- Cumin [ A Generous Sprinkling ]
- Coriander [ A Good Sprinkling ]
- Smoked Paprika [ A Good Sprinkling ]
- Cayenne [ A Good Sprinkling If You Enjoy Some Heat ]
- Sea, Kosher, or Table Salt [ A Good Sprinkling ]
- Finishing Salt [ A Sprinkling ]
TOOLS
- A Large Dish or Pan to season the chicken
- A Hot, Clean Grill
- Metal Tongs
- A Serving Dish
EXTRAS
A few tasty side dishes, an ice cold beer, and some fun music!
YIELD
I like to prepare at least 2 drumsticks per person. So if you are feeding 5 people, make 10 chicken legs. If you are feeding 15 people, grill up 30.
If you are grilling other protein in addition to the chicken – than 1 drumstick per person works just fine. At the end of the day just make however many you see fit 🙂
Step One
Have fun!
And please remember that everyone’s grill is a little different and cooking over an open flame truly comes down to actively using your senses to navigate the process.
Step Two
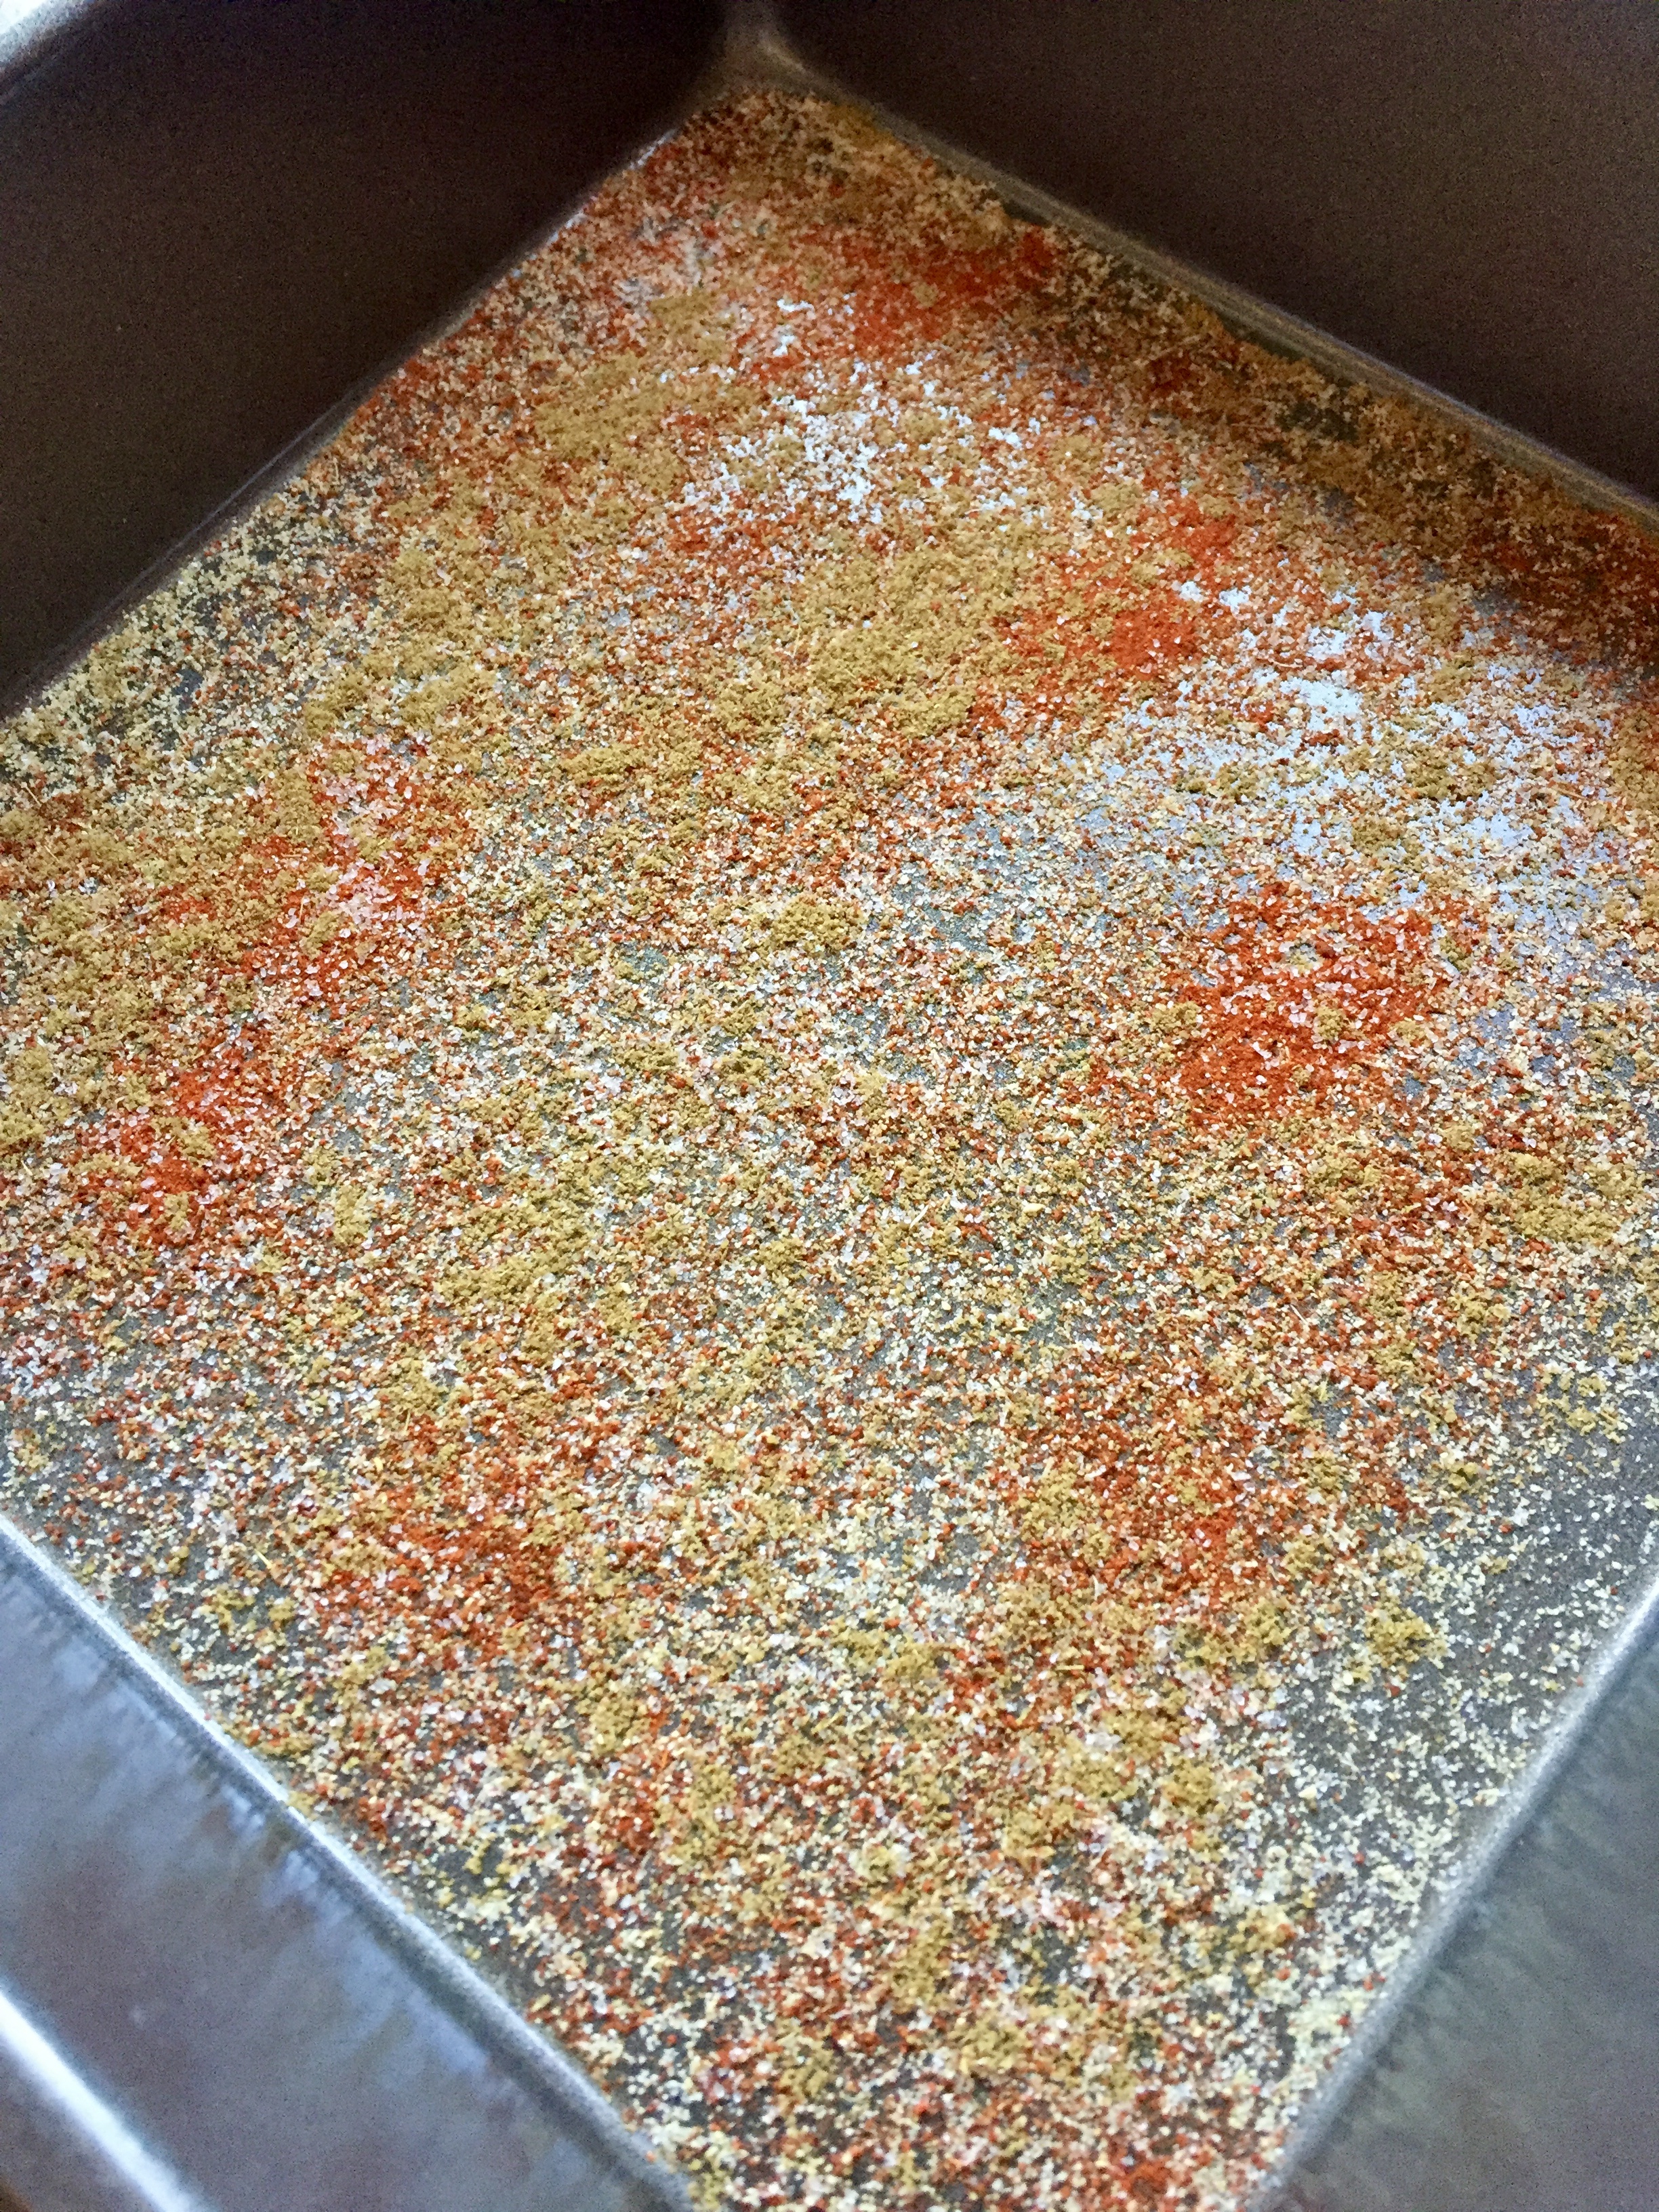
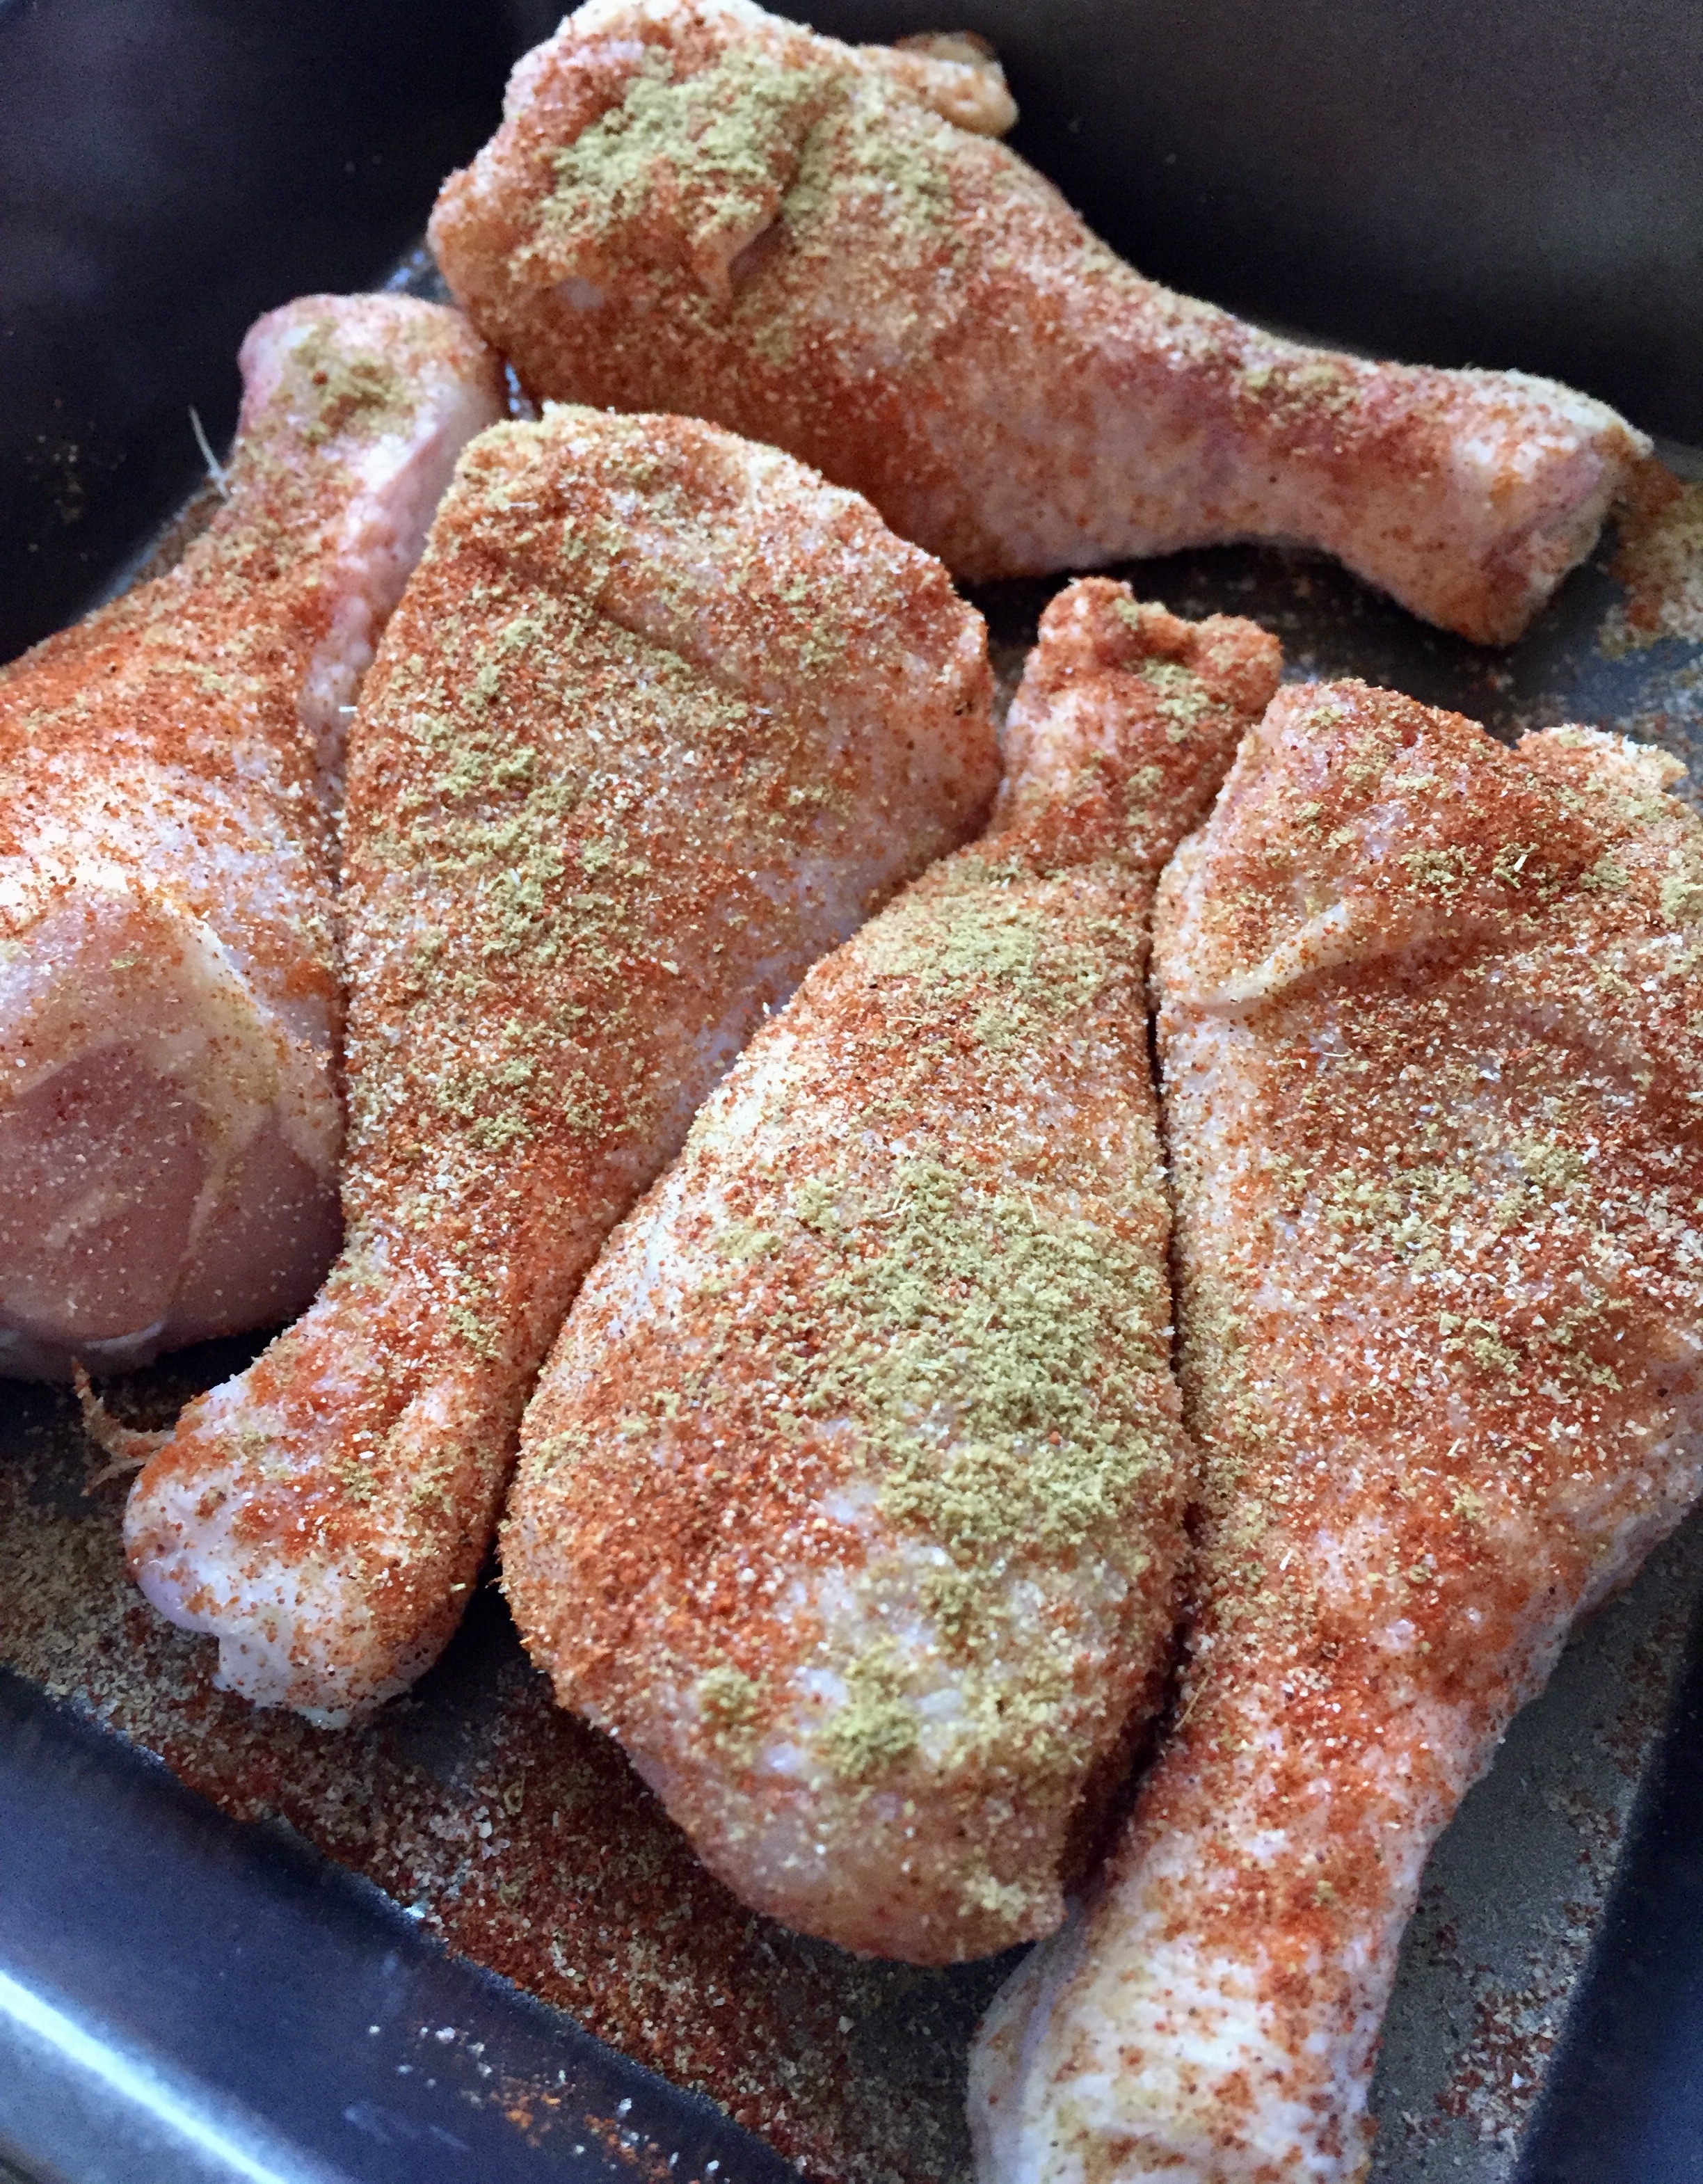
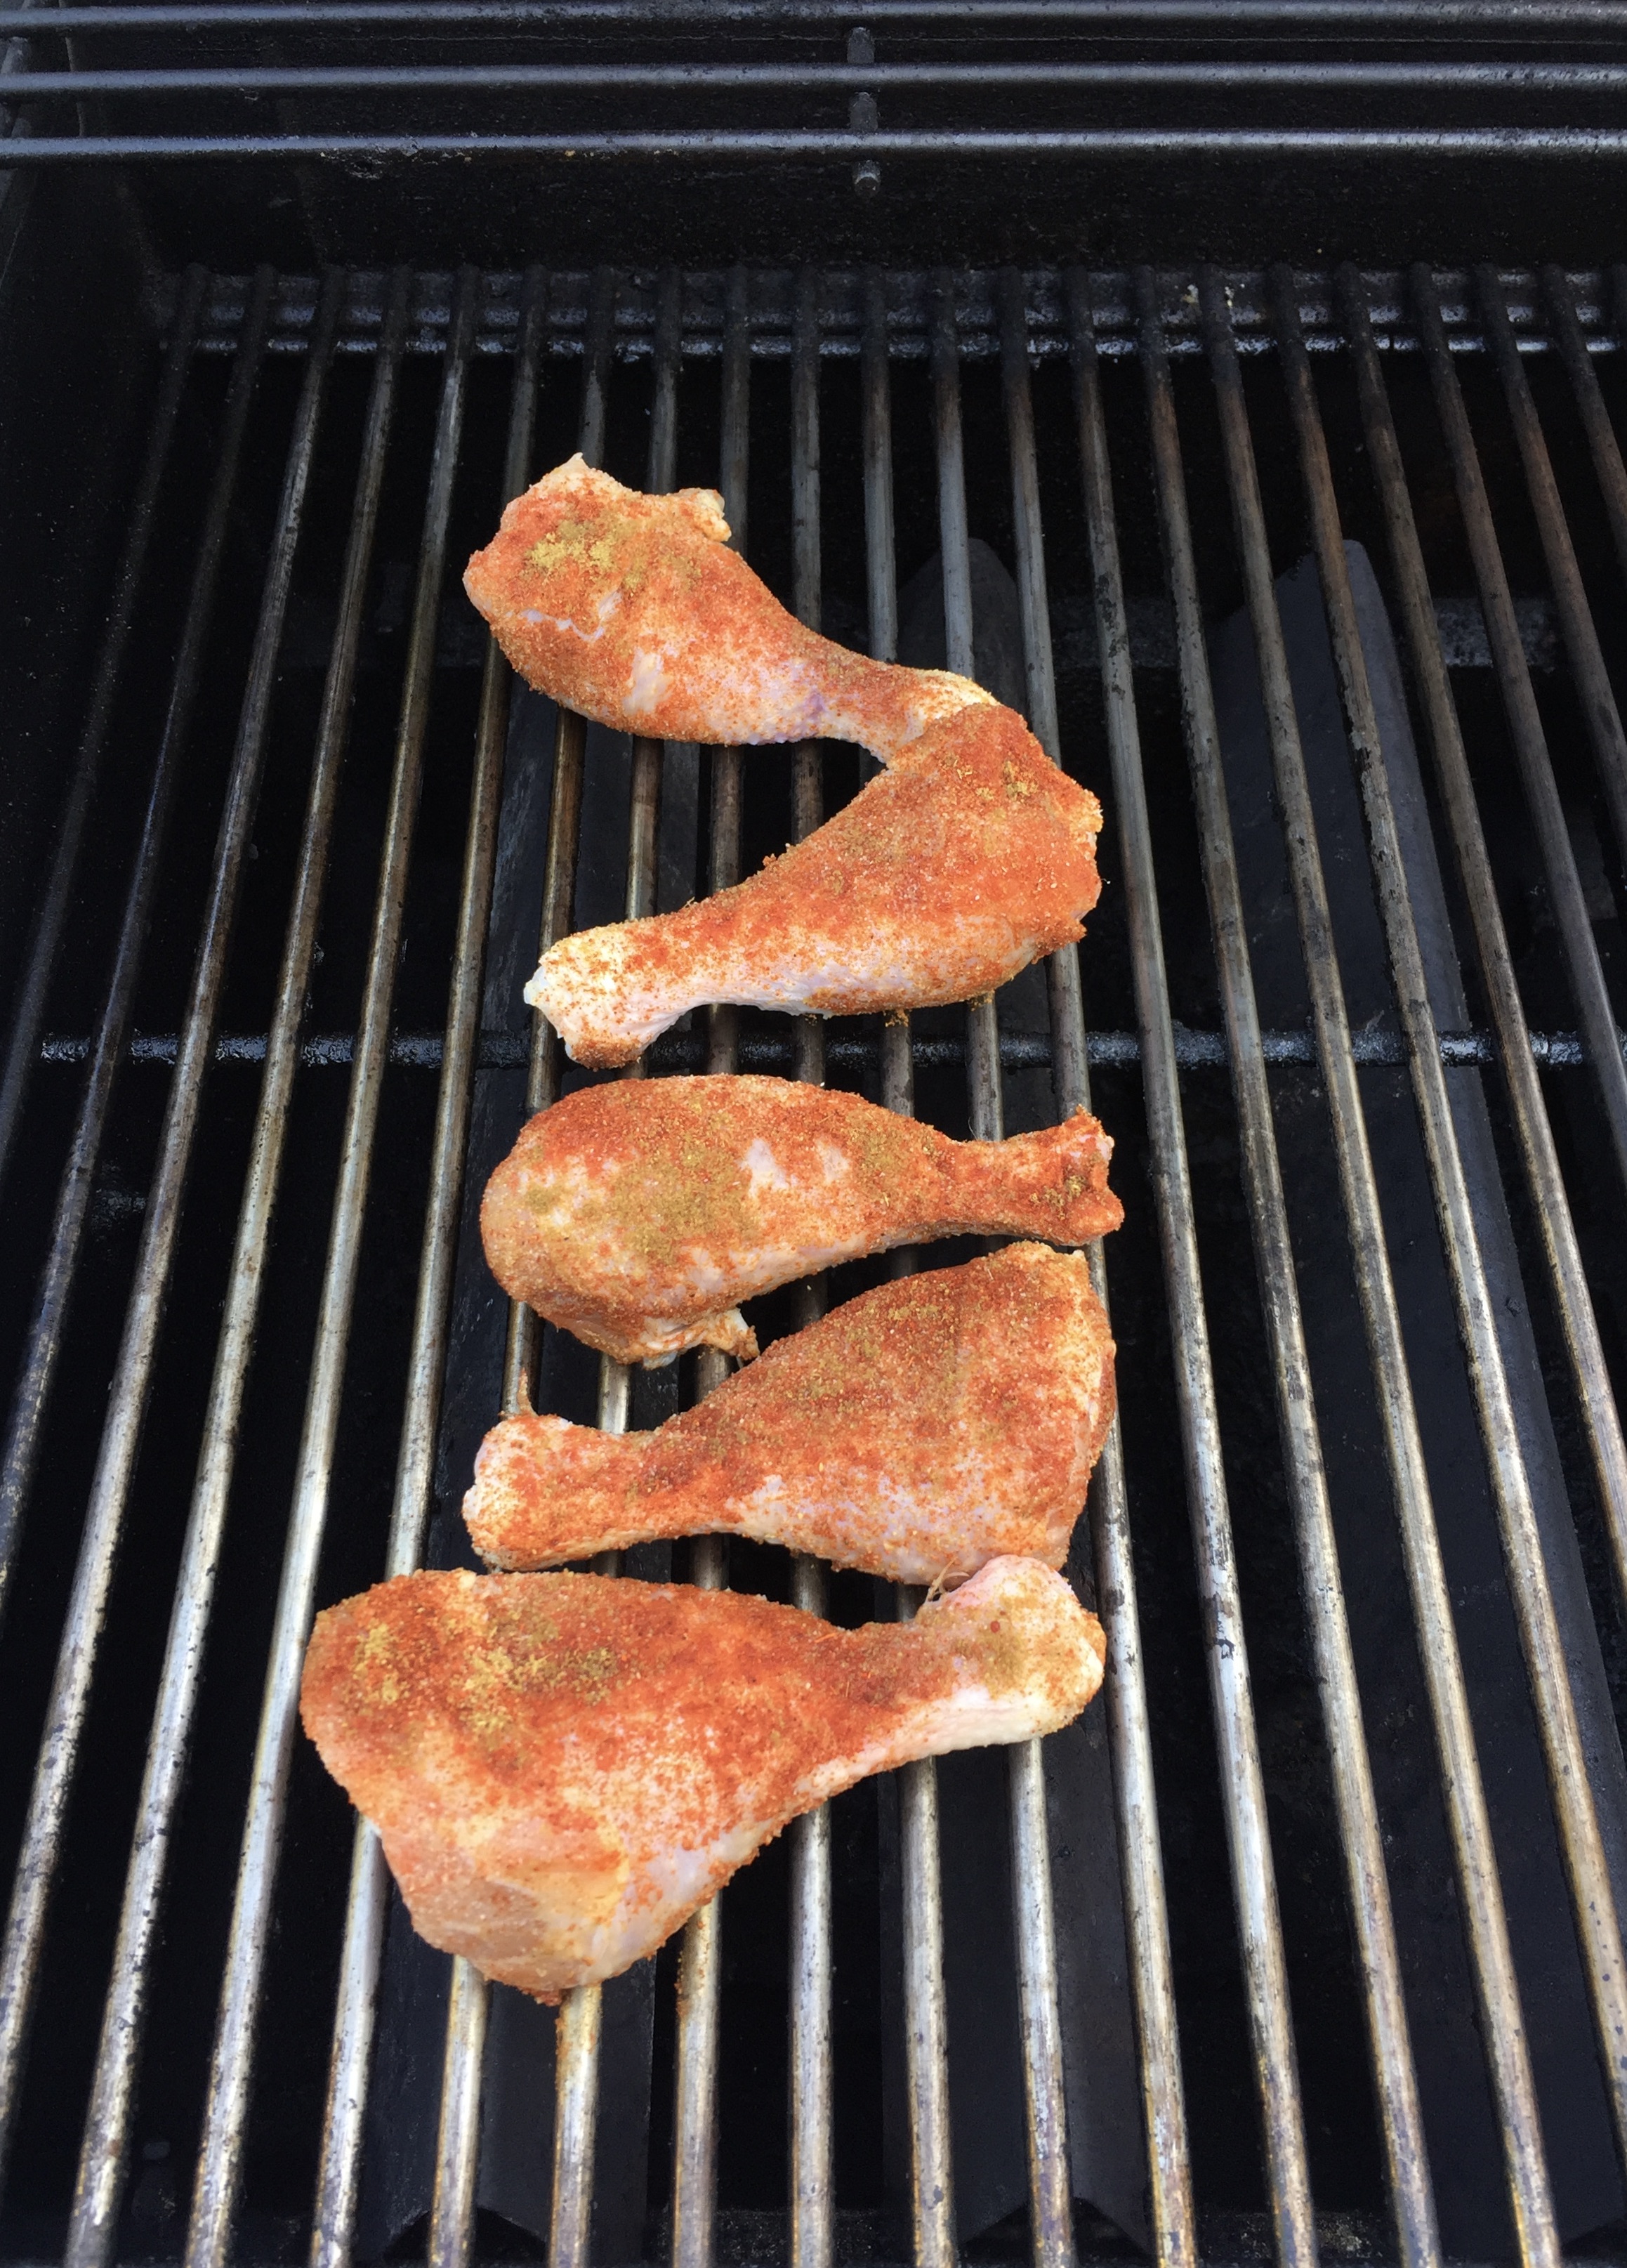
Season your chicken legs on either side with the garlic powder, cumin, coriander, smoked paprika, and salt. I, personally, do not measure and just sprinkle on the spices directly from the jar.
There are a few ways you can go about adding your dry rub. As you can see in the photos below, I choose to sprinkle the spices into the dish first, lay my chicken legs down, wash my hands, and then sprinkle the other side with all of the spices.
NOTE: Don’t go crazy with the salt as you don’t want your chicken to end up too salty. Definitely give each side of the drumstick some salt, but be mindful as you do it. And remember, you can always add some finishing salt afterward once they are done cooking.
Step Three
Allow your seasoned chicken to marinate in the fridge for a minimum of 30 minutes or up to 3 hours.
Step Four
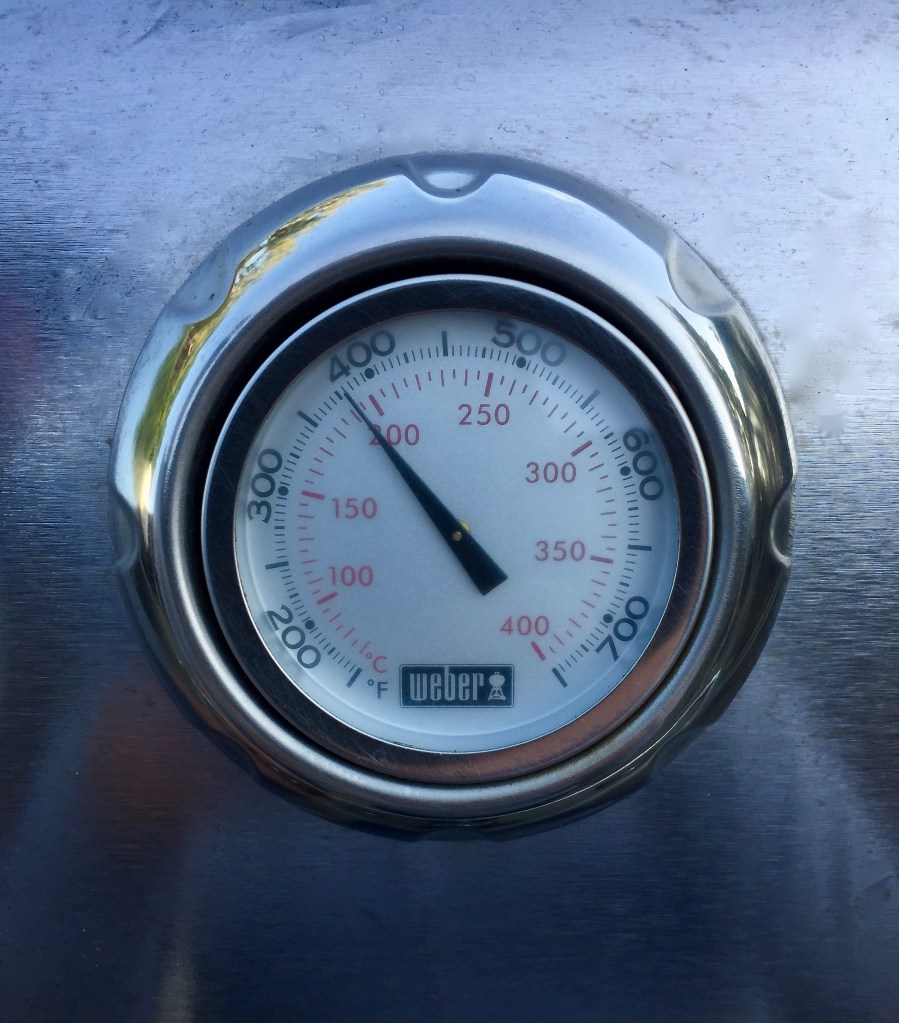
Clean your grill and pre-heat it to 450° – 500° if using gas. If cooking over a charcoal grill, use an infrared thermometer unless you’re an expert at gauging your grill’s heat without it.
Step Five
Remove your chicken from the fridge 15 – 20 minutes prior to cooking in order for the protein to come to room temperature before you place it on the grill.
Step Six
Once your grill is nice and hot, open the lid. The heat of your grill will naturally start reducing which is completely fine.
NOTE: After tons of trial and error, my family has found that we like to add the chicken once the temperature hits 400° or slightly below that in order to avoid burning the chicken.
Step Seven
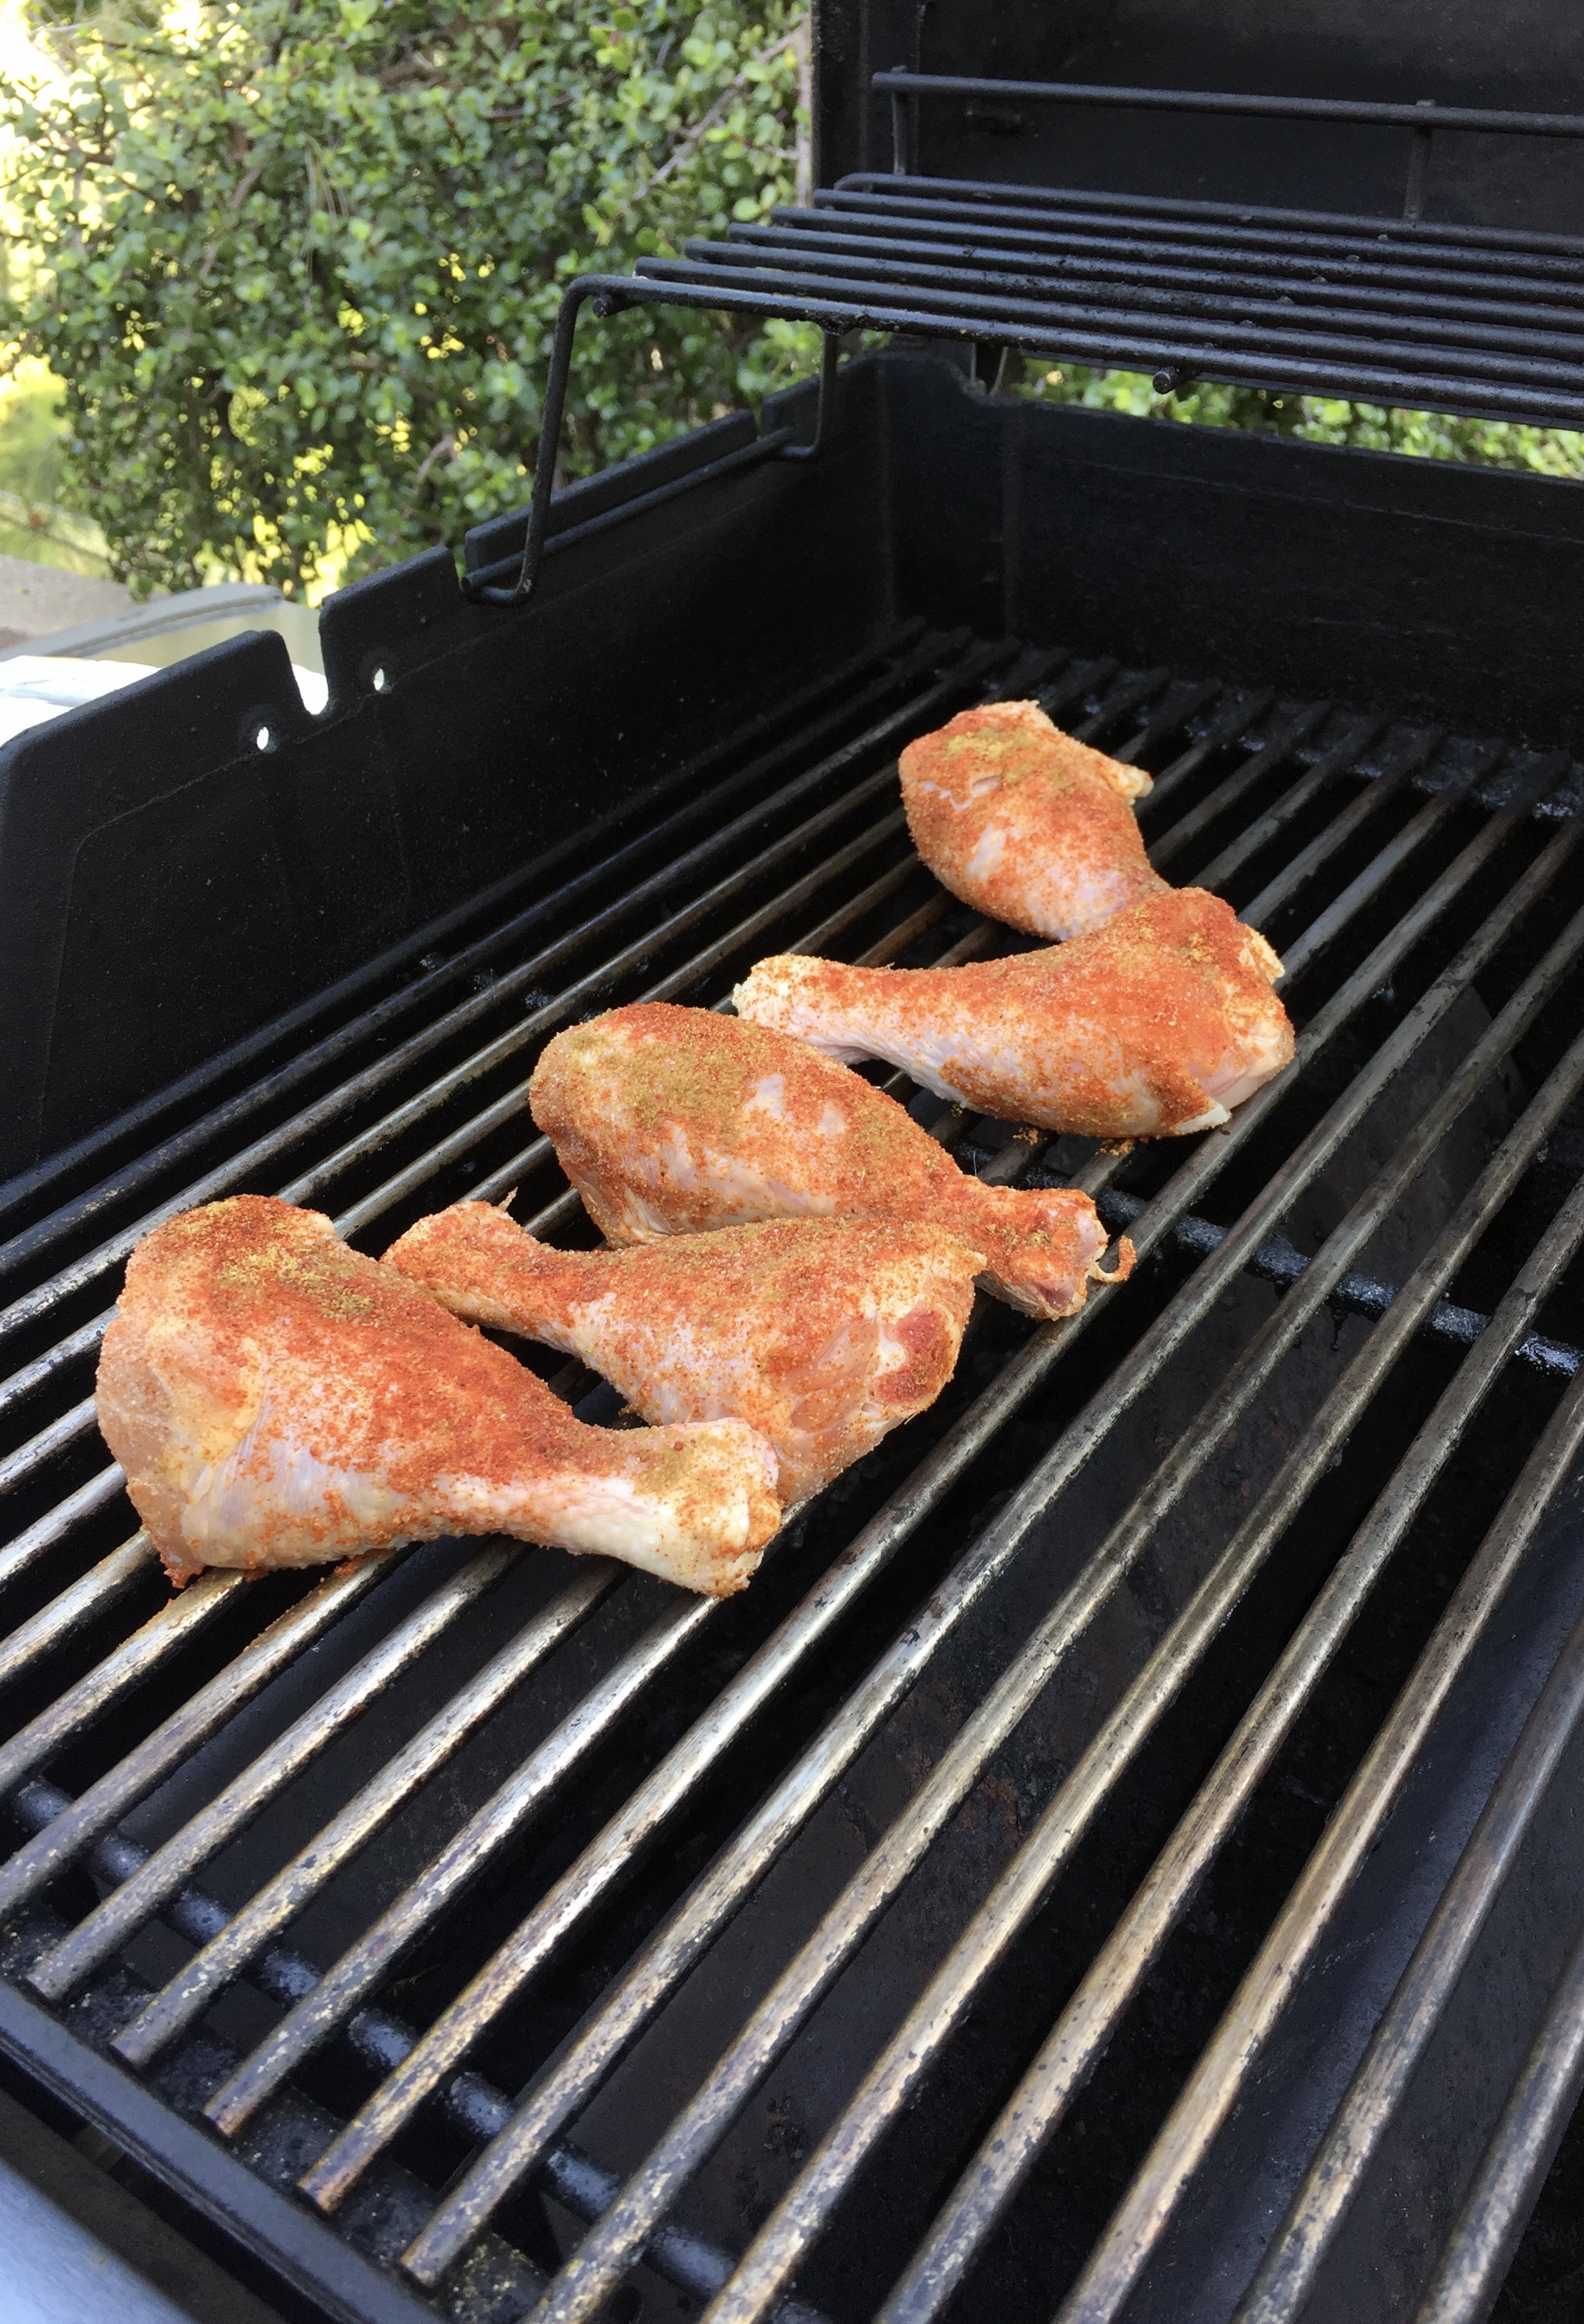
Next, use your metal tongs to place your chicken legs onto the grill.
Step Eight
Close the lid, and adjust the heat to medium so the internal temperature of your grill hovers between 325° – 350°.
Allow the chicken to cook for 10 minutes with the lid closed. This creates an oven effect that allows the heat of your grill to fully circulate around the chicken.
Step Nine
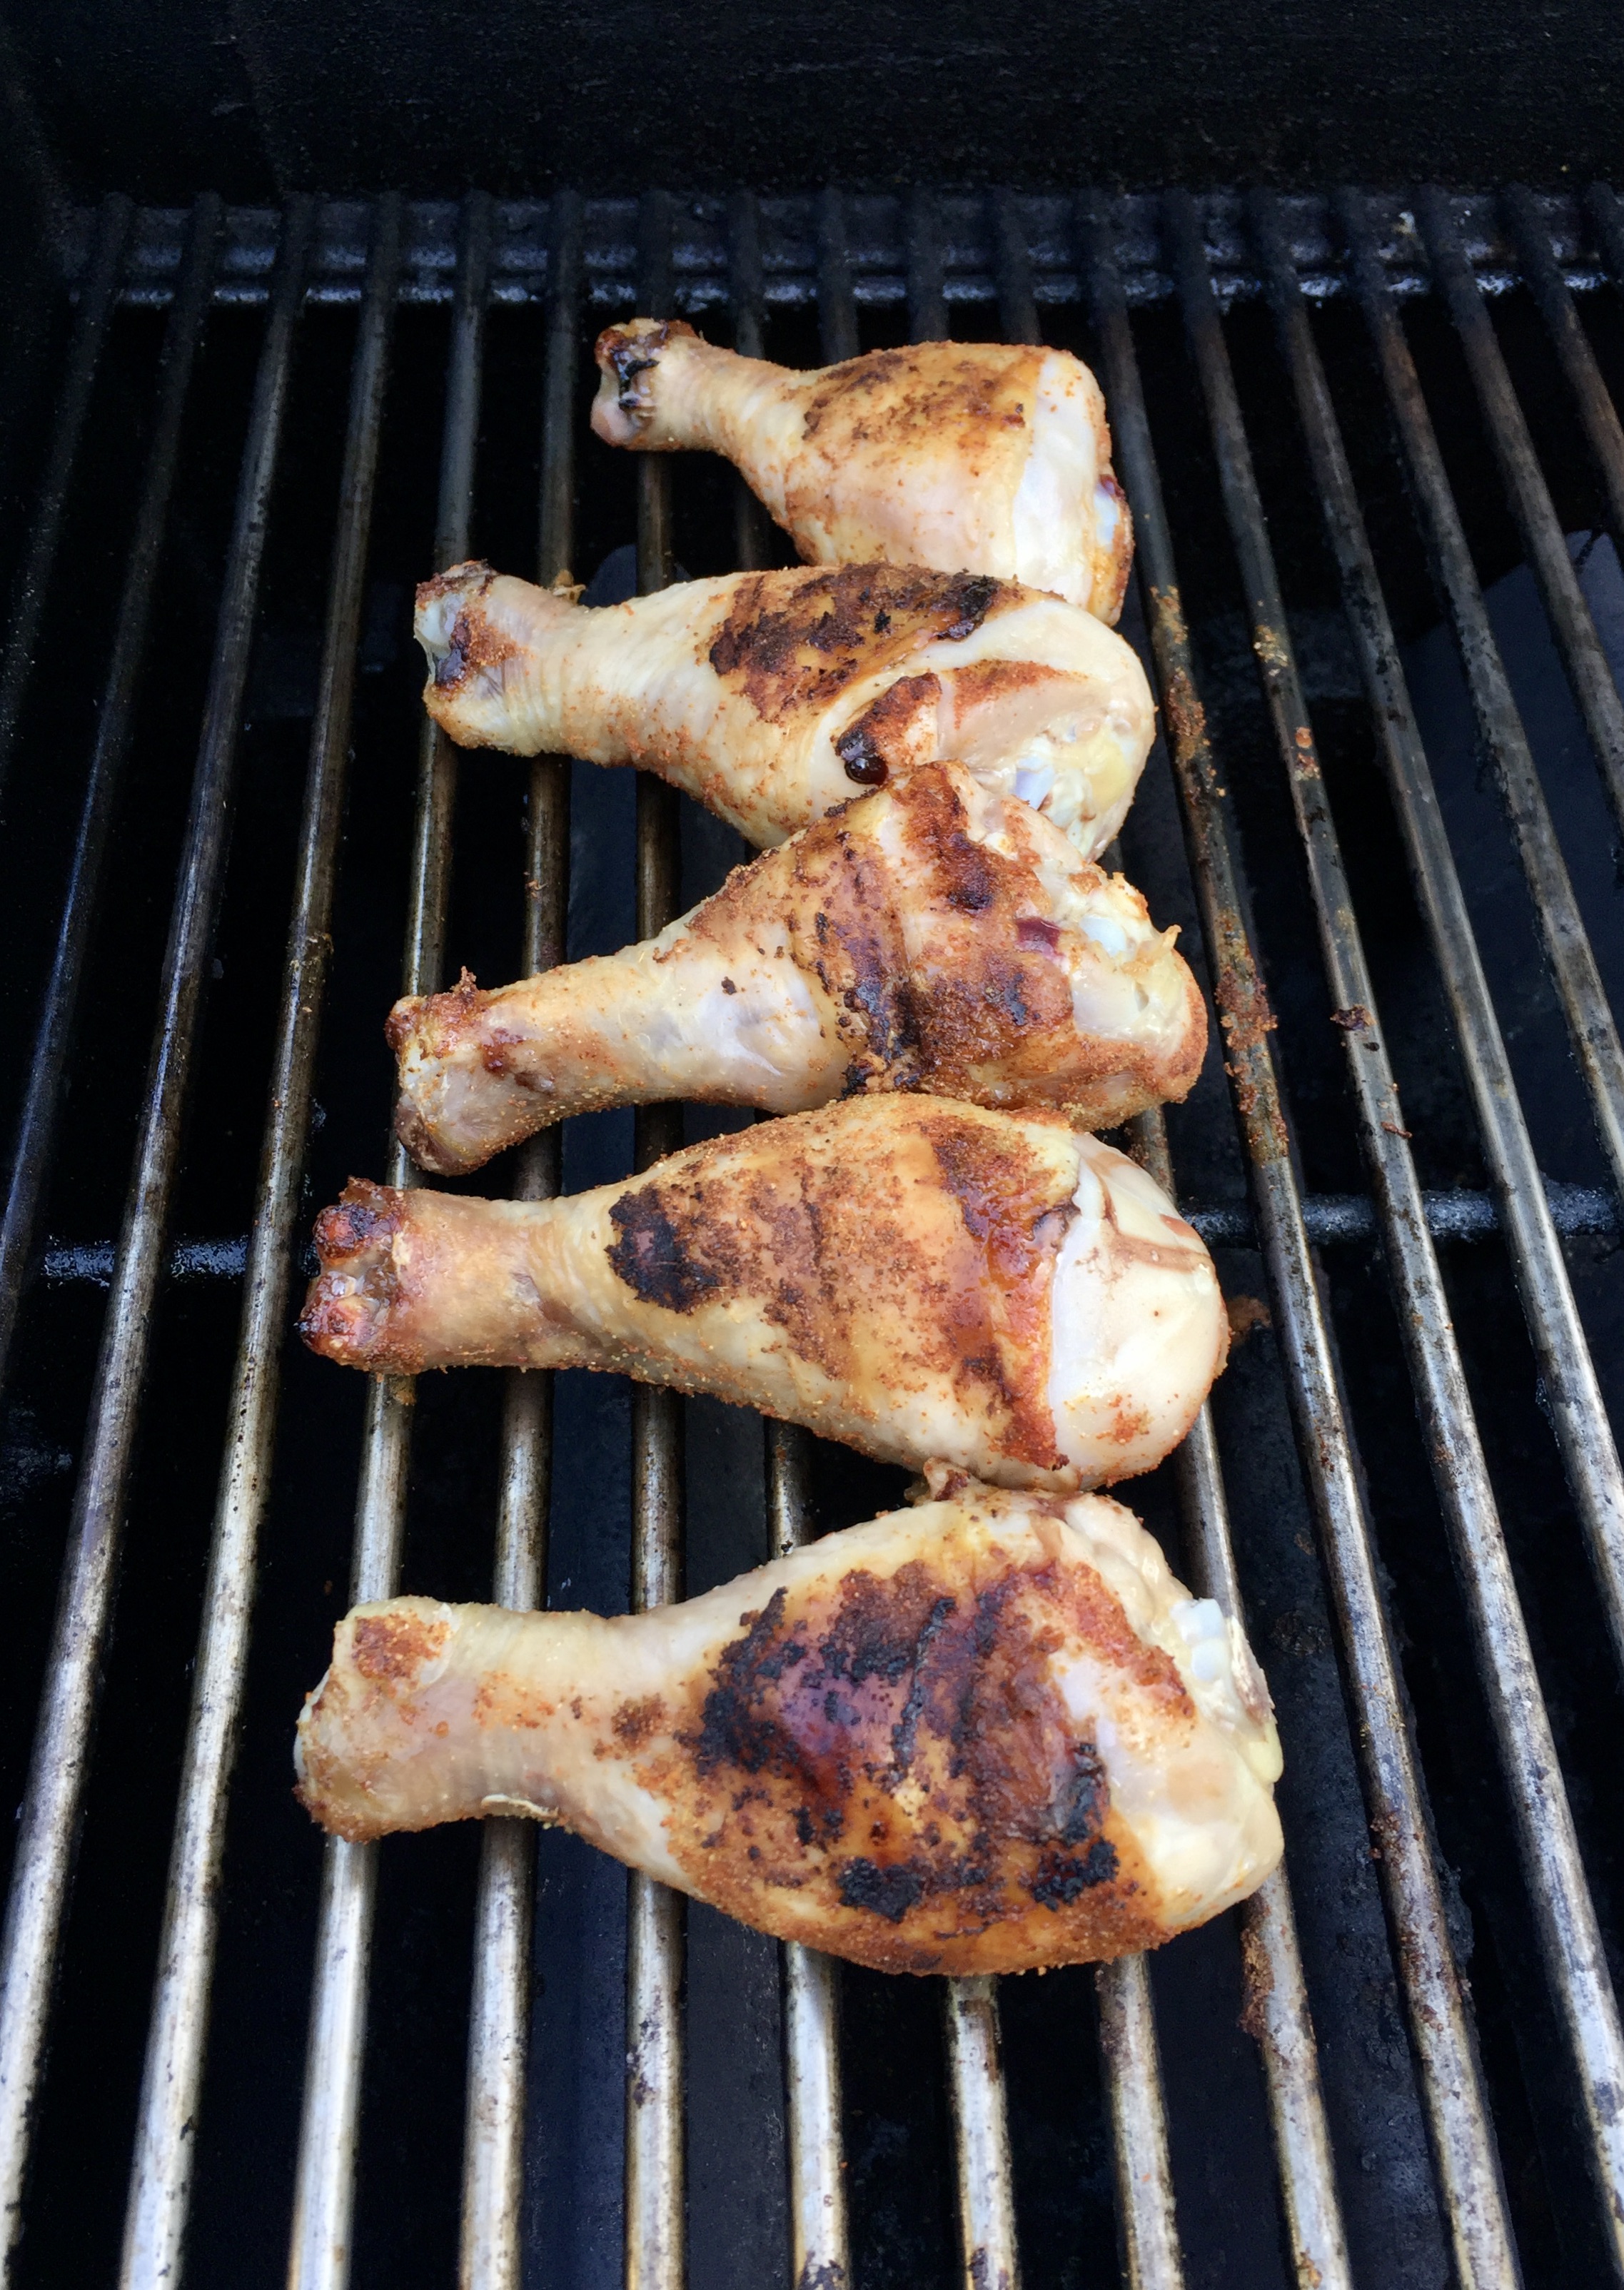
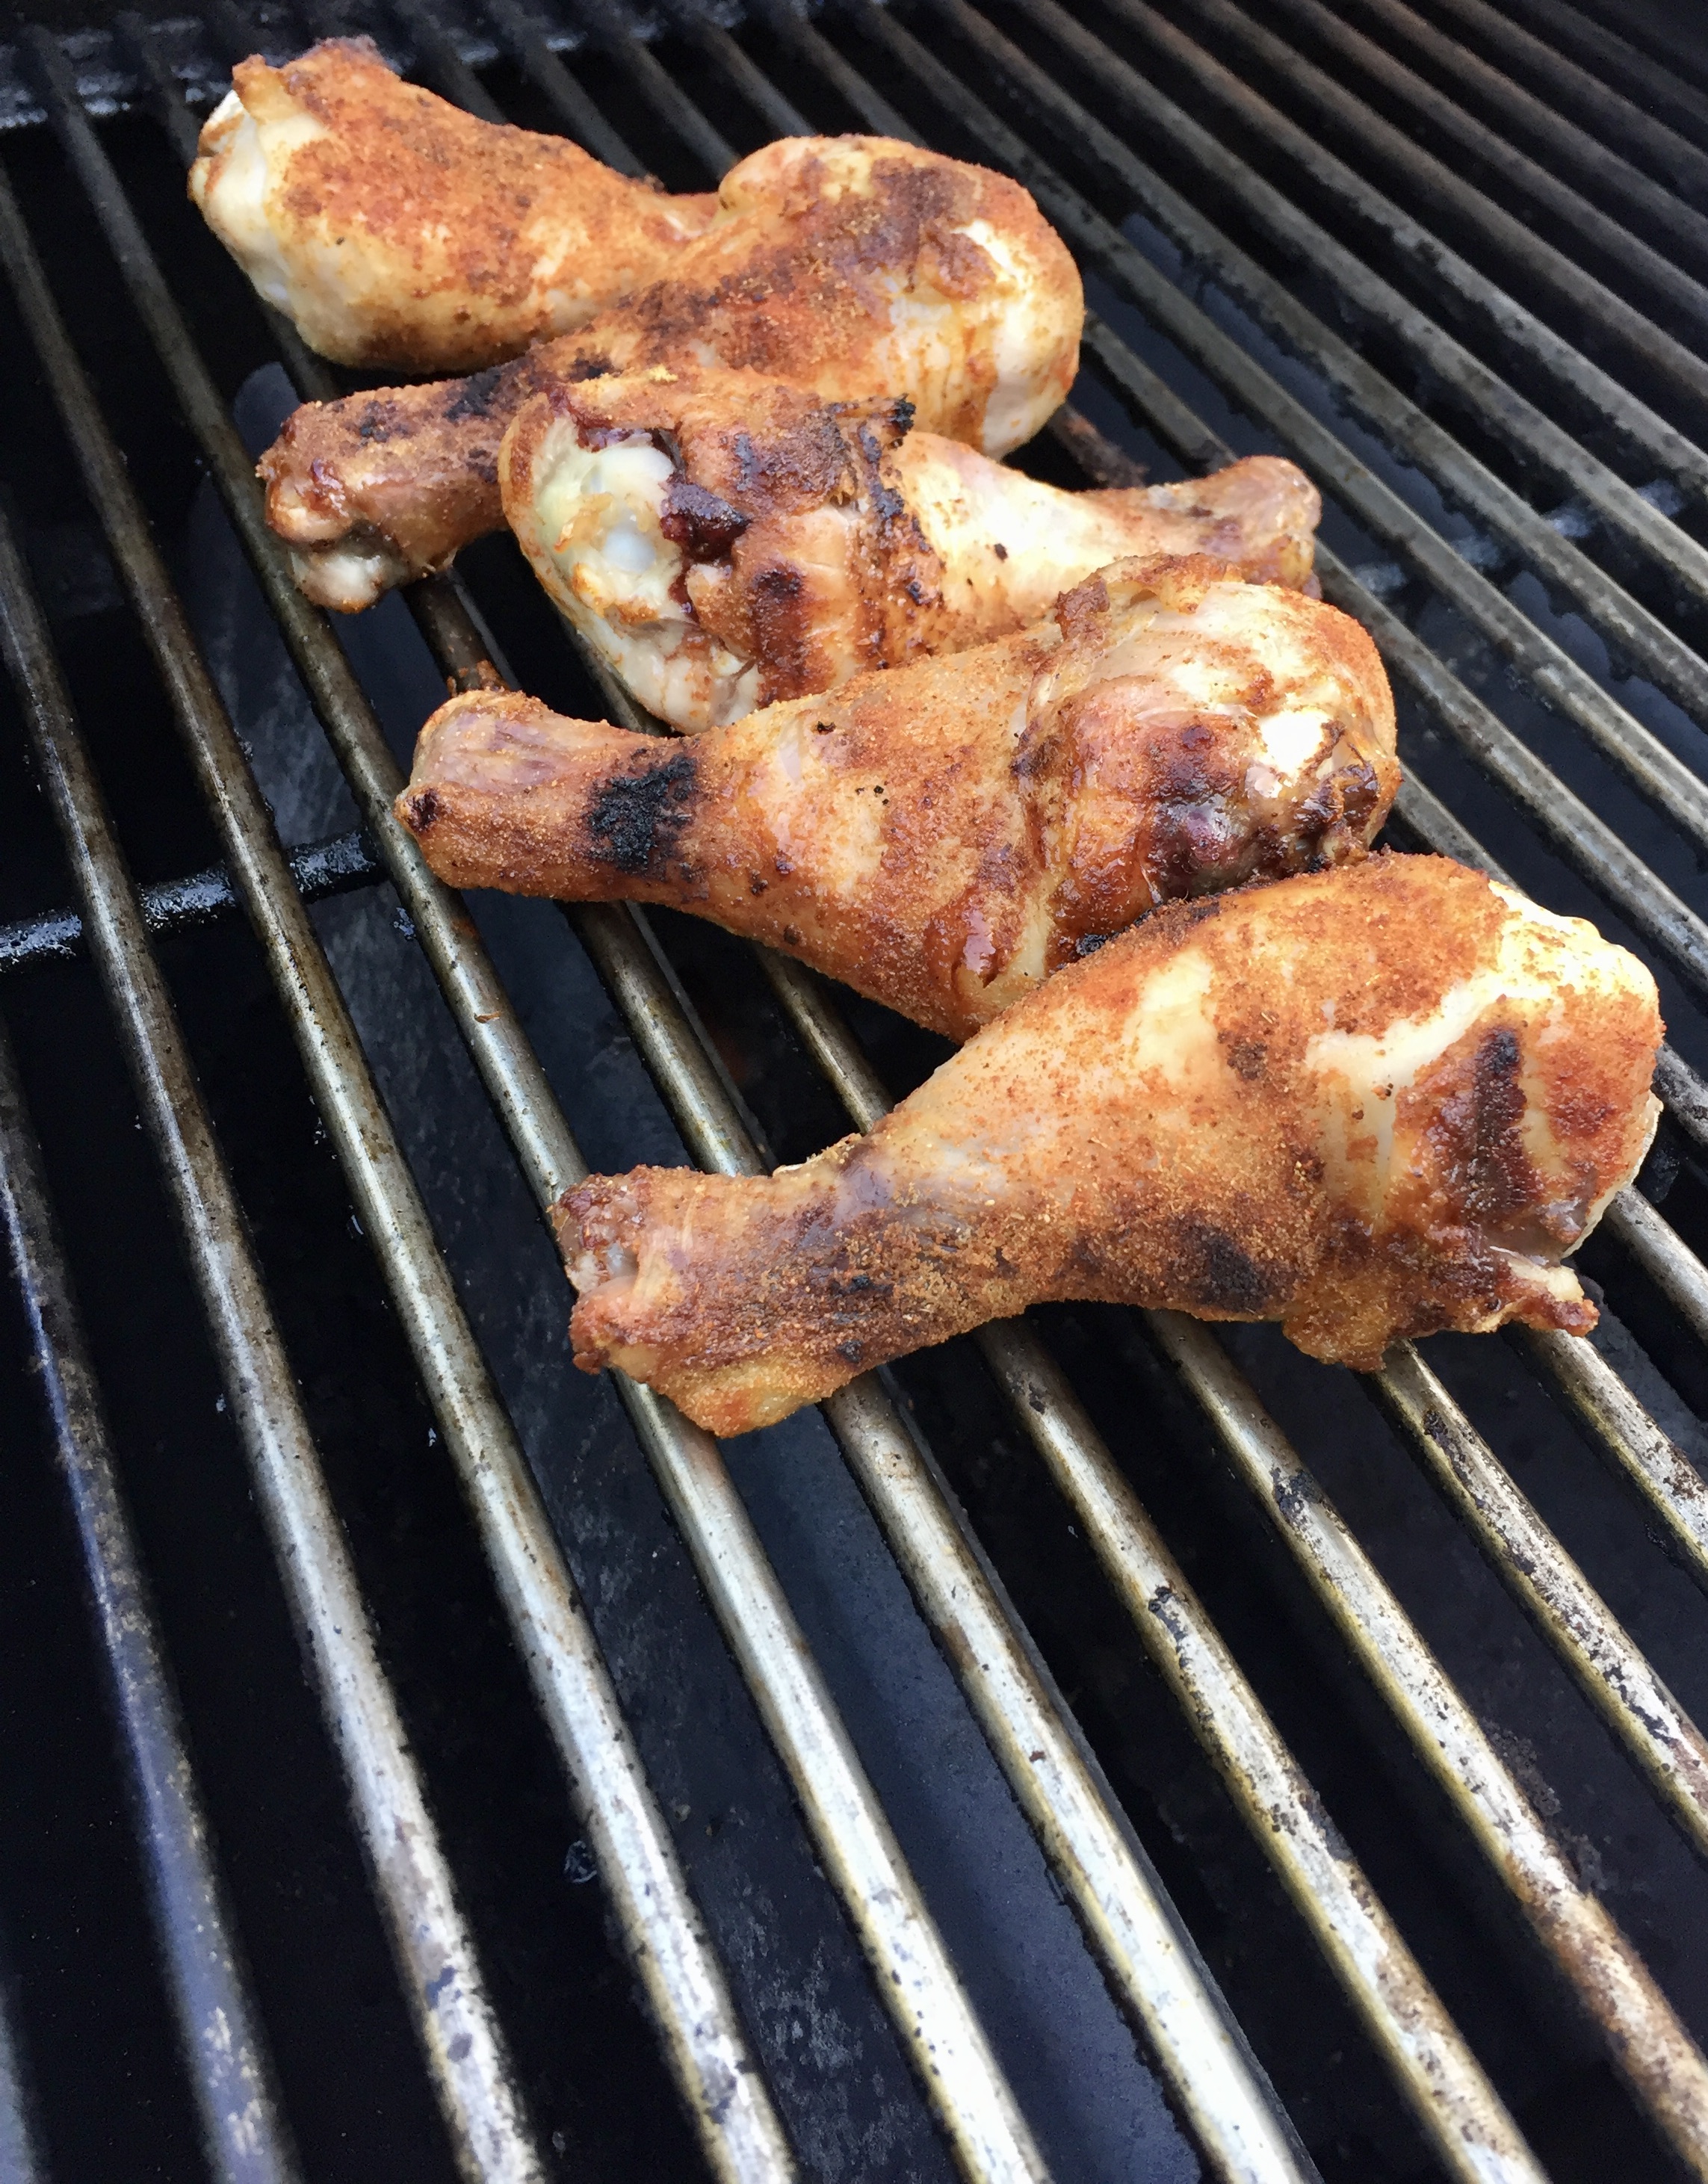
After 10 minutes, open the lid and use your tongs to check if the chicken legs naturally release from the grates. If they release and if the drumsticks have some good, brown color on them – it’s time to flip. If they don’t release, keep the lid open and check them every 2 minutes until the chicken easily comes off the hot grates.
NOTE: The image below shows the beautiful color of the grilled chicken after the first flip.
Step Ten
Grill the other side of the chicken for 10 minutes with the lid open.
Once they easily release from the grate, it’s time to flip them to one side.
Step Eleven
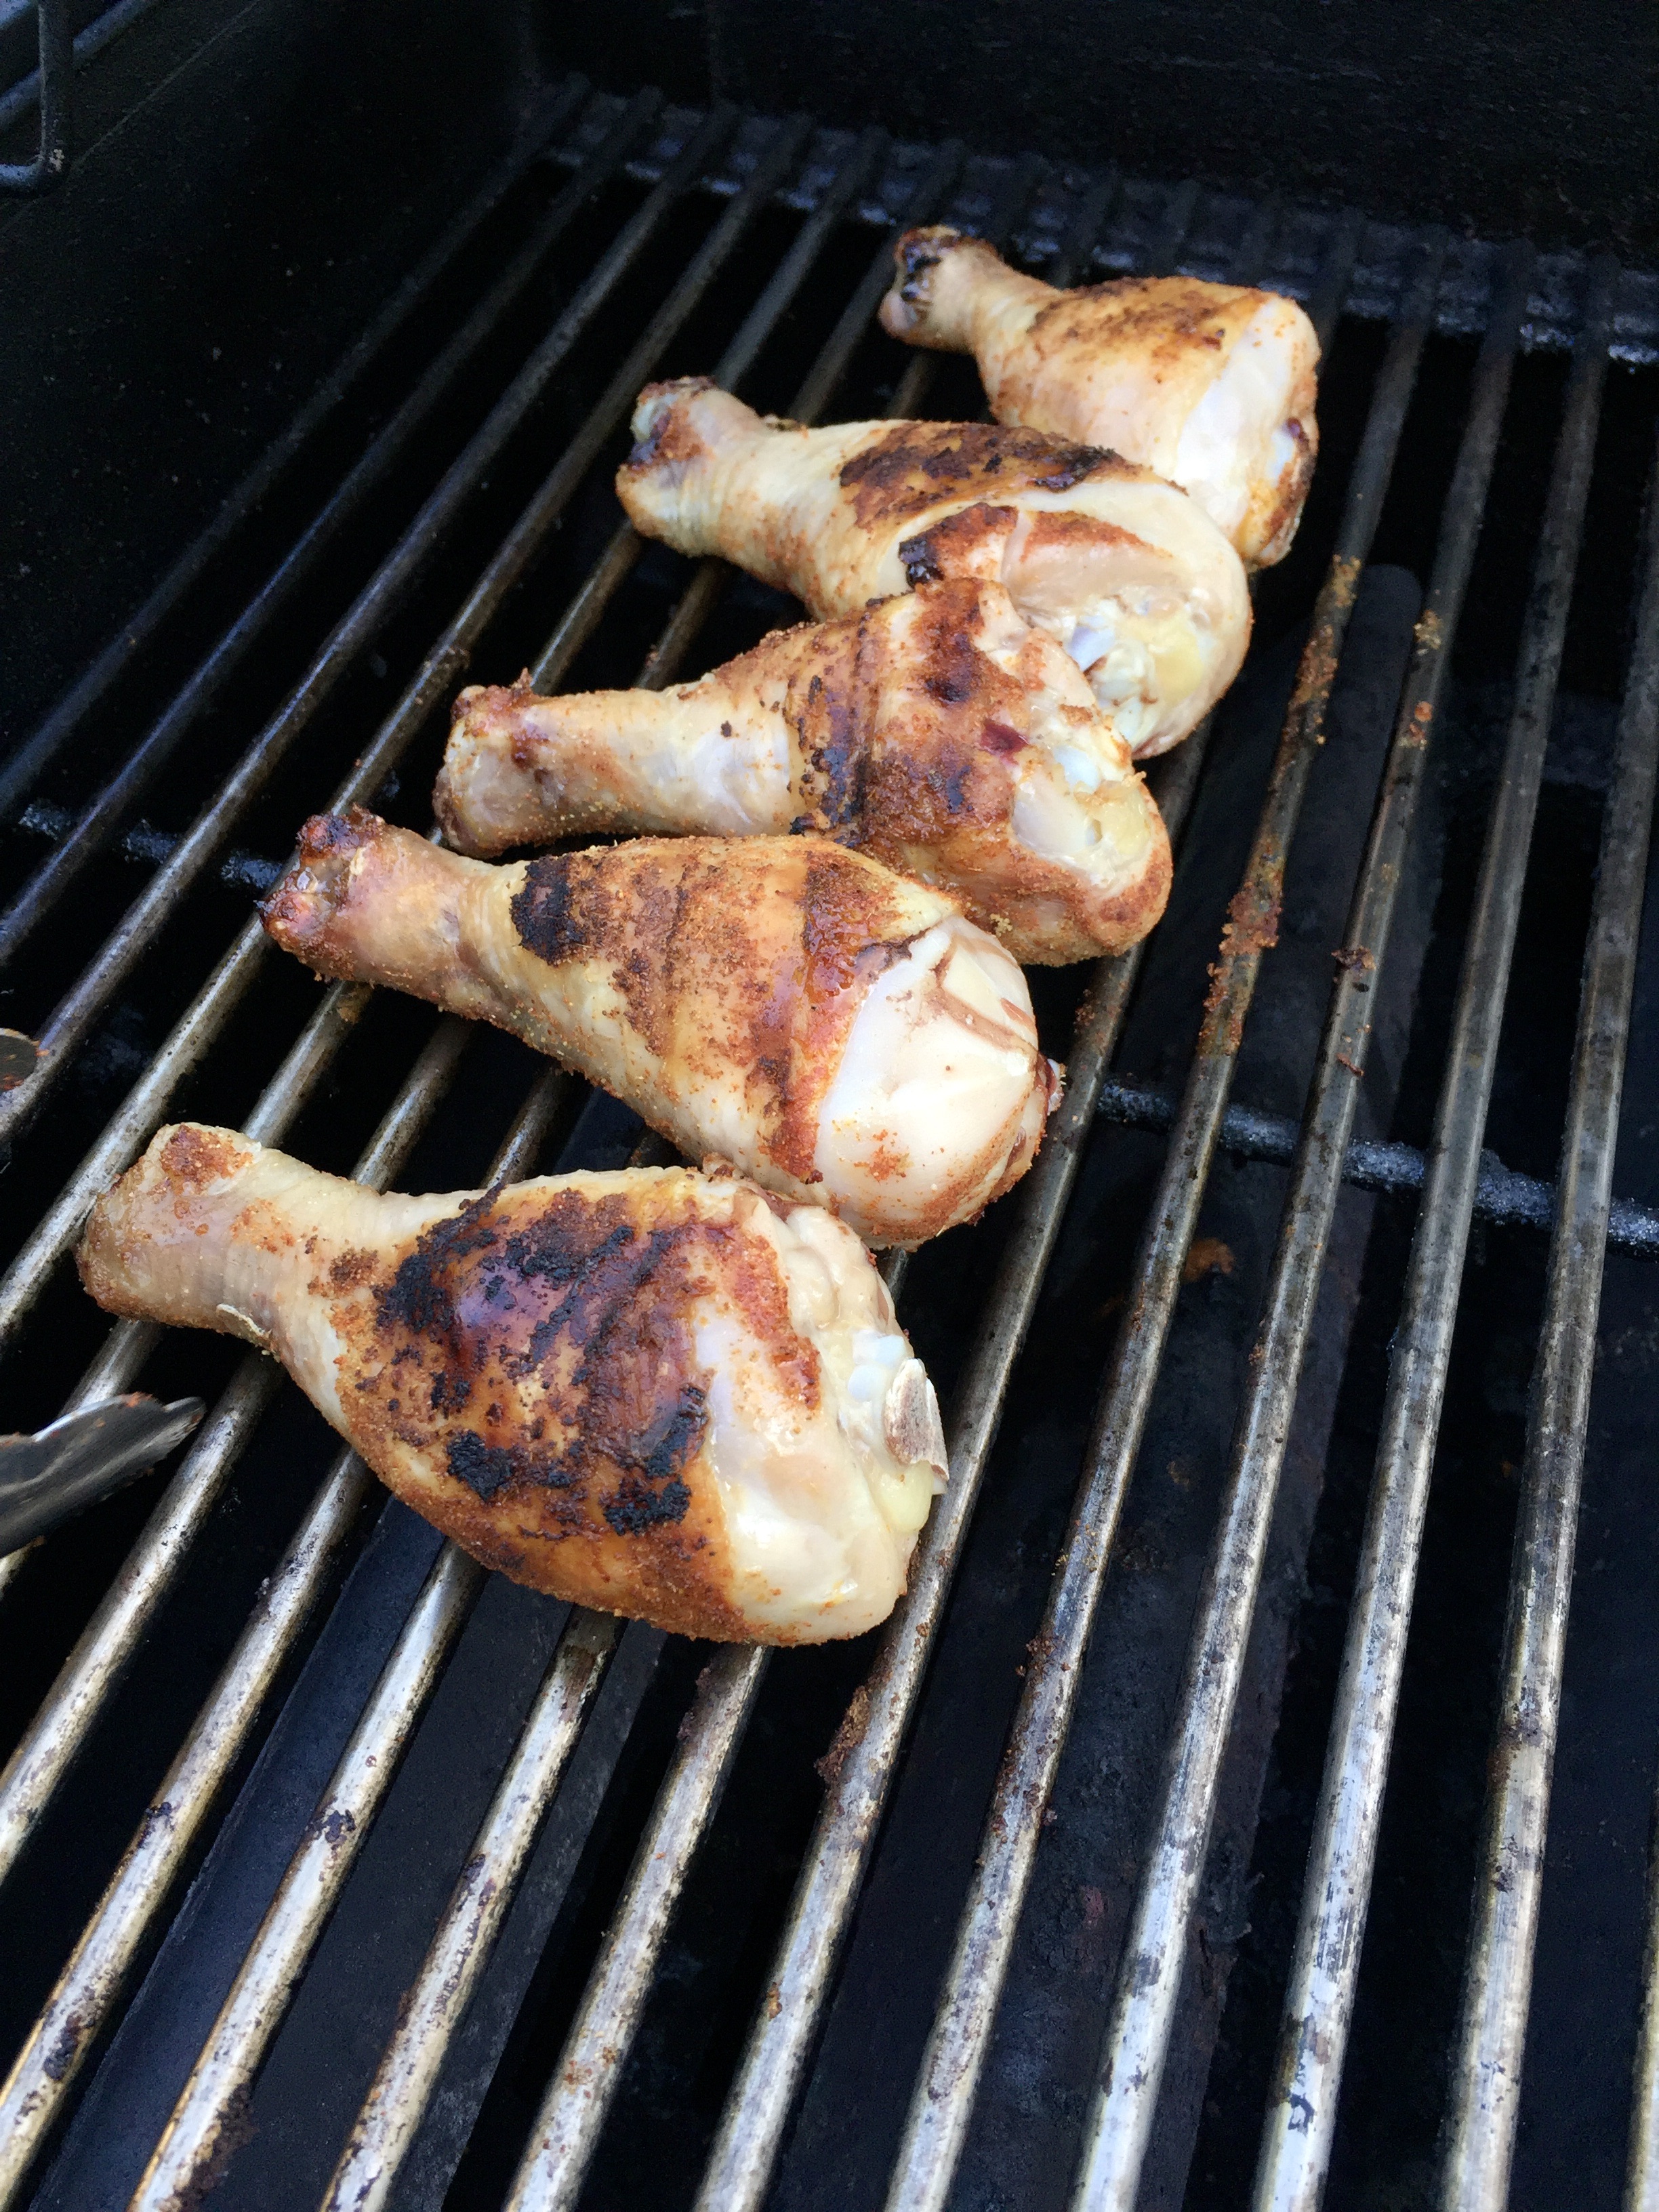
Grill the first side for 5 – 10 minutes with the lid open.
Once they easily release from the grate, it’s time to flip them to the other side.
Step Twelve
Grill the last side of the chicken for 5 – 10 minutes with the lid open.
Once they easily release from the grate, we are almost done!
You can use your tongs to pick up each individual chicken leg and place the topside of each drumstick onto the grates if they look a little underdone OR if you just want to add a bit more color to them.
Step Thirteen
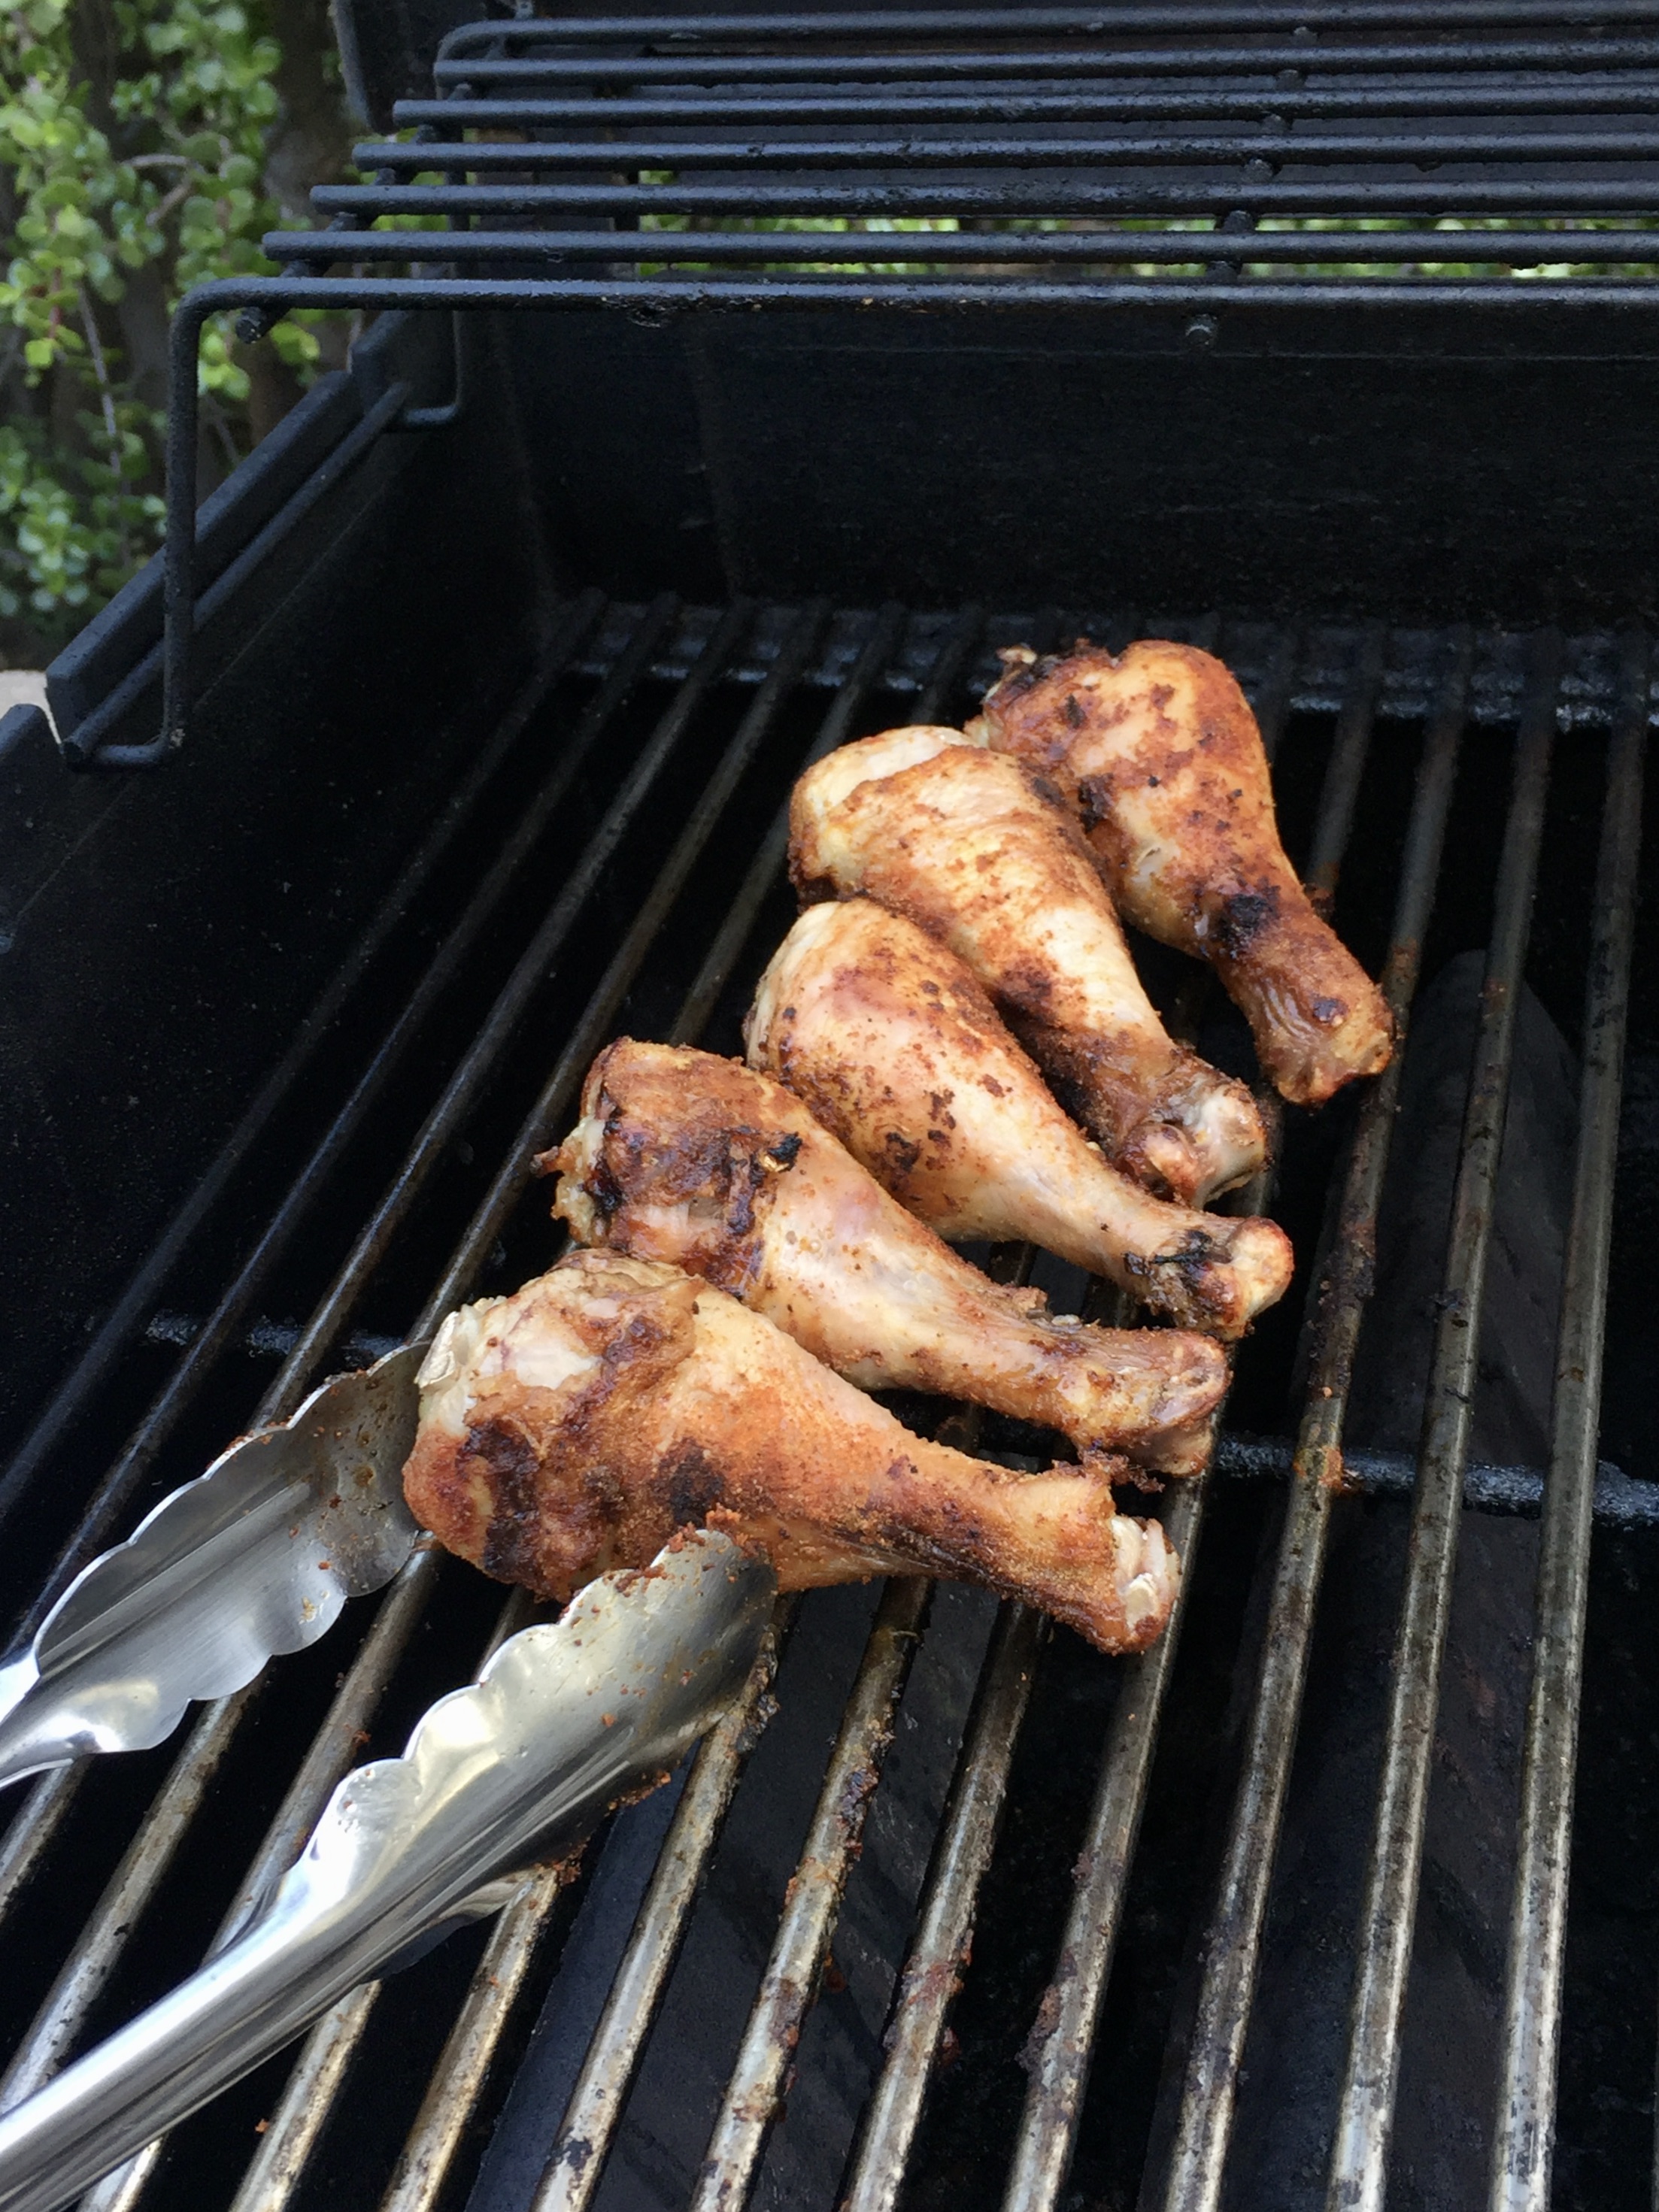
Last but not least – we like to gather our chicken into a pile, close the lid, and allow them to cook for an additional 5 minutes.

Step Fourteen
Open the lid, and voila! Your chicken should be good to go!
If you are unsure if your chicken is cooked through, you can use a meat thermometer to check the internal temperature. If you don’t have a thermometer, just use a sharp knife to prick one of the drumsticks. If the juice runs clear, your chicken is done! If the juice is very pink, continue cooking and recheck the protein every 2 – 3 minutes until the juice runs clear.
NOTE: On average, my total cooking time using a Weber Gas Grill is about 45 minutes. After grilling chicken in a variety of ways and at a variety of temperatures, my family has decided that this method works best for us.
Step Fifteen
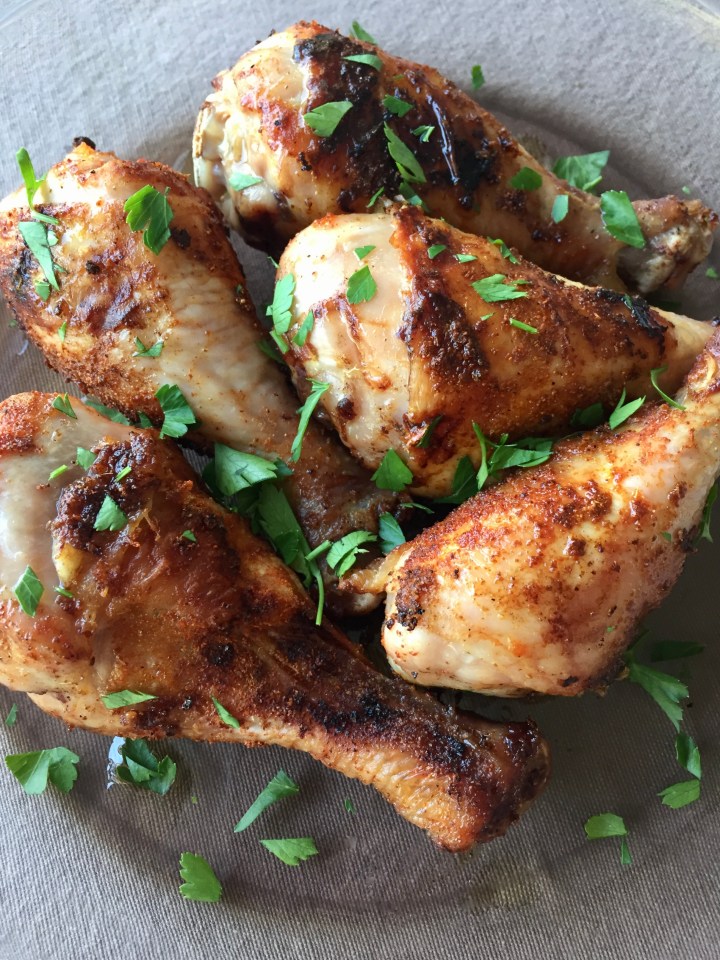
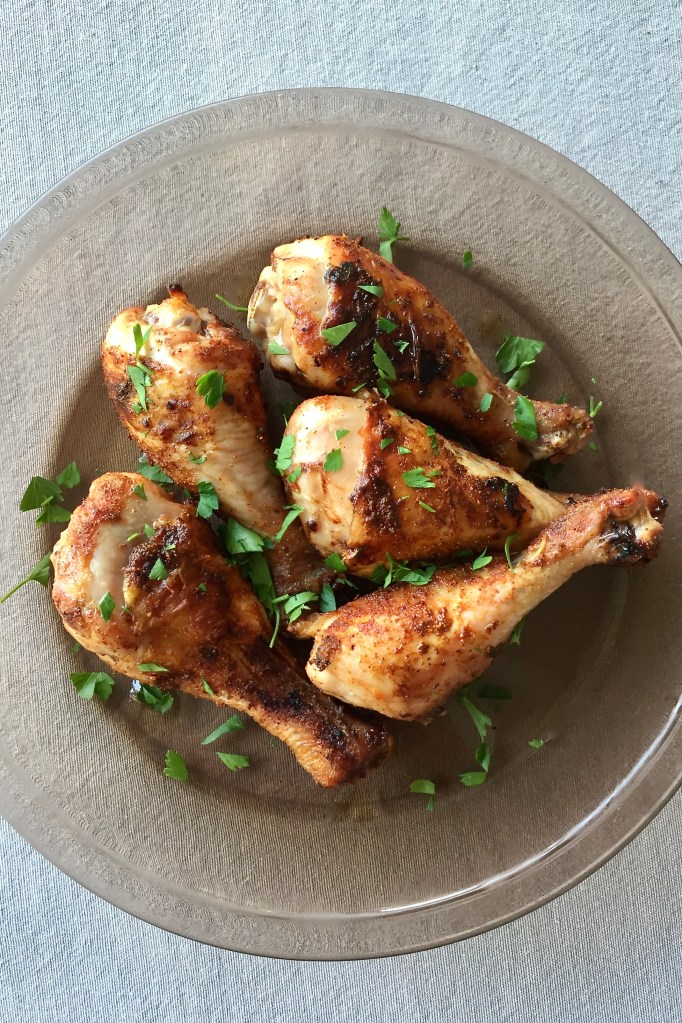
Platter up your chicken and allow the protein to rest for at least 5 minutes before diving in 🙂

Step Sixteen
Garnish the drumsticks with some finishing salt and a drizzle of extra virgin olive oil.
I clearly chose to also add some fresh chopped parsley the day I made these since I had a bunch growing in my herb garden at the time.
Step Seventeen
Enjoy your meal!
LAST BUT NOT LEAST
A few lemon wedges would also be a great addition to this platter of chicken. And instead of fresh lemons, you can also choose to grill them! Simply slice your citrus fruit in half and char them on the grill for a moment before adding them to your serving dish. This will make the lemons warm and much more juicy.
Also, if you’re not a fan of the smokier spices that I used above, feel free to make your own dry rub using your favorite ingredients. And if you’re short on time, you can use a pre-made dry rub from your local grocery store. The opportunities are endless when it comes to seasoning your chicken so have fun experimenting with different flavors!
Happy Cooking!
